
Peel-and-Stick Brilliance for Kitchen Cabinets
Plan, Measure, and Prepare Like a Pro

Choose the Right Finish for Real Life

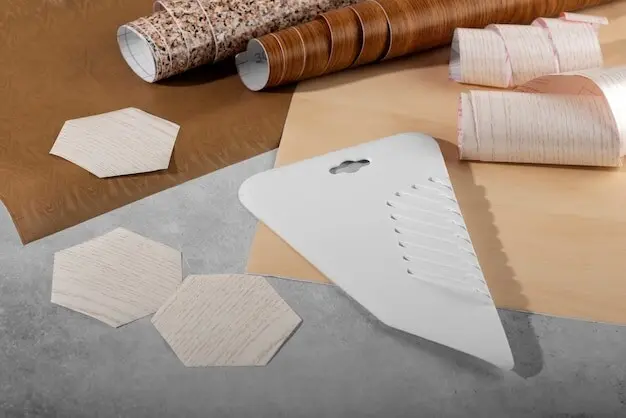
Assemble Tools and Create a Calm Workspace
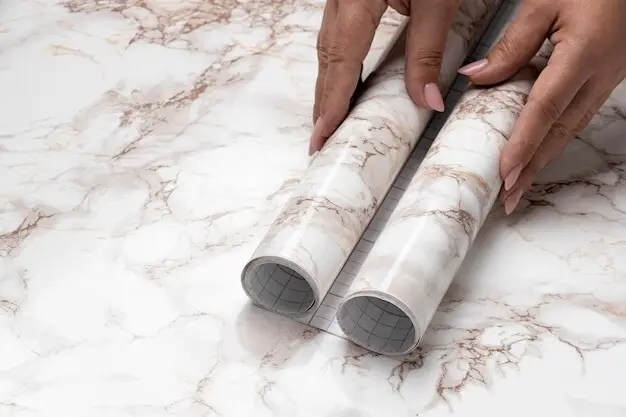
Measure Precisely and Map Grain Direction
Degrease Without Residue

Smooth Imperfections and Soften Edges
Application Techniques That Beat Bubbles and Seams
01
Start Straight, Squeegee Smart, Adjust Gently
Align the top edge or a flat stile first, creating a trustworthy reference. Peel only a few inches of backing, tack lightly, then press with a felt-edge squeegee using overlapping strokes. If bubbles appear, lift gently and re-lay rather than fighting trapped air. Keep a soft, even tension so vinyl glides rather than stretches. Slow is genuinely fast here, because careful alignment now avoids messy trims and wavy edges that are difficult to disguise.
02
Corners, Curves, and Raised Panels
For shaker frames and ornate profiles, make small relief cuts where inside corners meet, then use mild heat to relax the film over contours. Wrap edges, never stopping exactly at a corner. On deeper recesses, approach from the flattest area outward, maintaining alignment. View each transition as a gentle ramp, not a cliff. Patience turns intimidating corners into satisfying victories, with crisp lines that suggest factory finishes rather than hurried weekend experiments gone slightly sideways.
03
Heat-Set Memory and Edge Security
Vinyl has memory that responds to controlled warmth. After smoothing, apply low heat and burnish edges so the adhesive fully wets out and stays committed. Avoid yanking or severe stretching, which invites future recoil. Think gentle persuasion, not force. Post-heat around handles and frequent-touch zones to futureproof corners. This small ritual helps smaller overlaps behave like deliberate design rather than visible patches, dramatically improving resilience during cleaning, cooking, and the countless door openings awaiting your beautiful upgrade.
Design Choices: Wood Grain, Matte, and High-Gloss
Wood Grain Depth and Direction
Modern Calm with Matte
Mirror-Glow High-Gloss Drama
Care, Durability, and Everyday Maintenance
Cost Breakdown and Smart Savings
Weekend Workflow and Door Labeling
Sustainable Choices and Reversibility
All Rights Reserved.