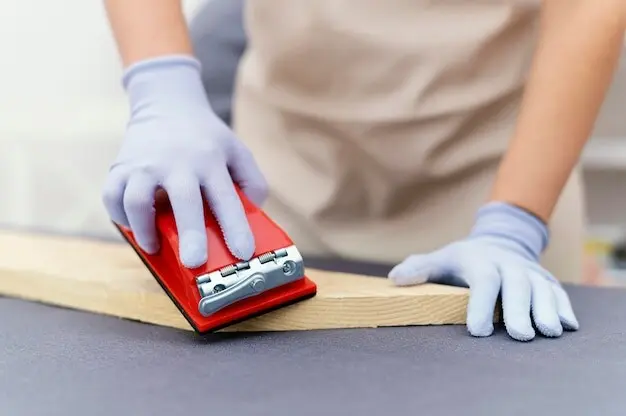
Stubborn kitchen film is the enemy of adhesion. Wash with a degreaser or TSP substitute, rinse thoroughly, then do a light scuff for tooth on shiny paint. Patch dents, sand smoothly, and remove dust with a tack cloth. If walls are porous or uneven, a bonding primer helps. Keep a J-roller handy to lock edges, and remember: patience during prep saves every future minute spent re-sticking corners.
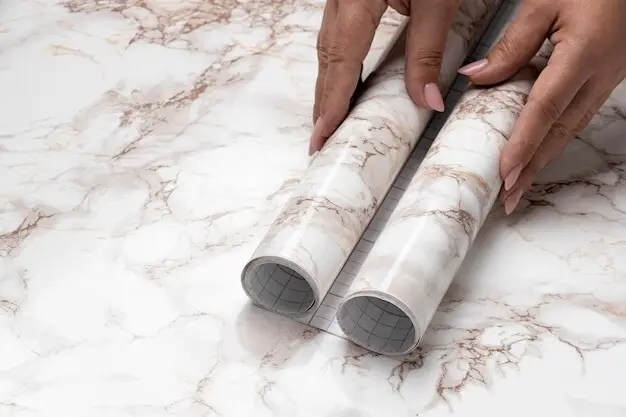
Use horizontal tile courses or elongated shapes to stretch the galley visually, and keep busy mosaics concentrated at eye-catching focal points. Light marbles, crisp whites, and soft pastels brighten shadows without overwhelm. When choosing faux grout lines, align them with cabinet edges to reduce visual noise. Consider a gentle herringbone only if you can run it cleanly; otherwise, stacked or subway patterns guide the eye more calmly forward.

Most peel-and-stick materials prefer distance from direct heat. Respect manufacturer heat ratings, and use stainless panels, tempered-glass shields, or aluminum composite near burners. Create a small buffer zone, maintain clearance, and terminate peel-and-stick just beyond hot spots. Seal edges against steam with a thin bead of heat-resistant caulk. This layered approach keeps your backsplash crisp, your adhesives reliable, and weeknight cooking as drama-free as your cleanup.
Scrutinize specs for wear layer thickness and surface texture. A tougher topcoat resists chair scuffs and dropped utensils, while a light emboss adds grip without trapping dirt. Test a sample under your actual lighting to see color shifts. Avoid ultra-gloss on floors to prevent glare; keep the shine for backsplashes and trims instead. Balanced finishes make small galleys feel considered, intentional, and gracefully low-maintenance.
Old buildings rarely offer perfect rectangles. Snap or tape a reference line, dry-lay a few rows, and scribe to walls rather than forcing straight boards into crooked angles. Roll each plank with pressure, staggering seams naturally. Where appliances meet flooring, use slim thresholds or removable trim to protect edges. The result reads calmer, longer, and cleaner, even before sunshine or LED accents start doing their reflective magic.
Wrapping toe kicks with a subtle pearl, brushed metal, or pale satin vinyl reflects soft light across the floor plane. Finish baseboards neatly with peel-and-stick quarter-round or adhesive trim tape, sealing vulnerable edges against mopping moisture. This low-profile shimmer tricks the eye into reading greater depth. It’s a tiny upgrade that photographs beautifully, makes routine cleaning simpler, and ties floor and cabinetry into one luminous ribbon.
Pick flexible LED tape with high color accuracy and a warm-to-neutral tone that flatters wood and stone. Snap it into low-profile adhesive channels with diffusers to eliminate glare dots. Conceal wires along cabinet undersides with stick-on raceways. Add a motion sensor for nighttime trips, and dimmers for mood. The even wash across counters expands usable workspace and makes pale wraps gleam without feeling clinical or cold.